EKS Workshop
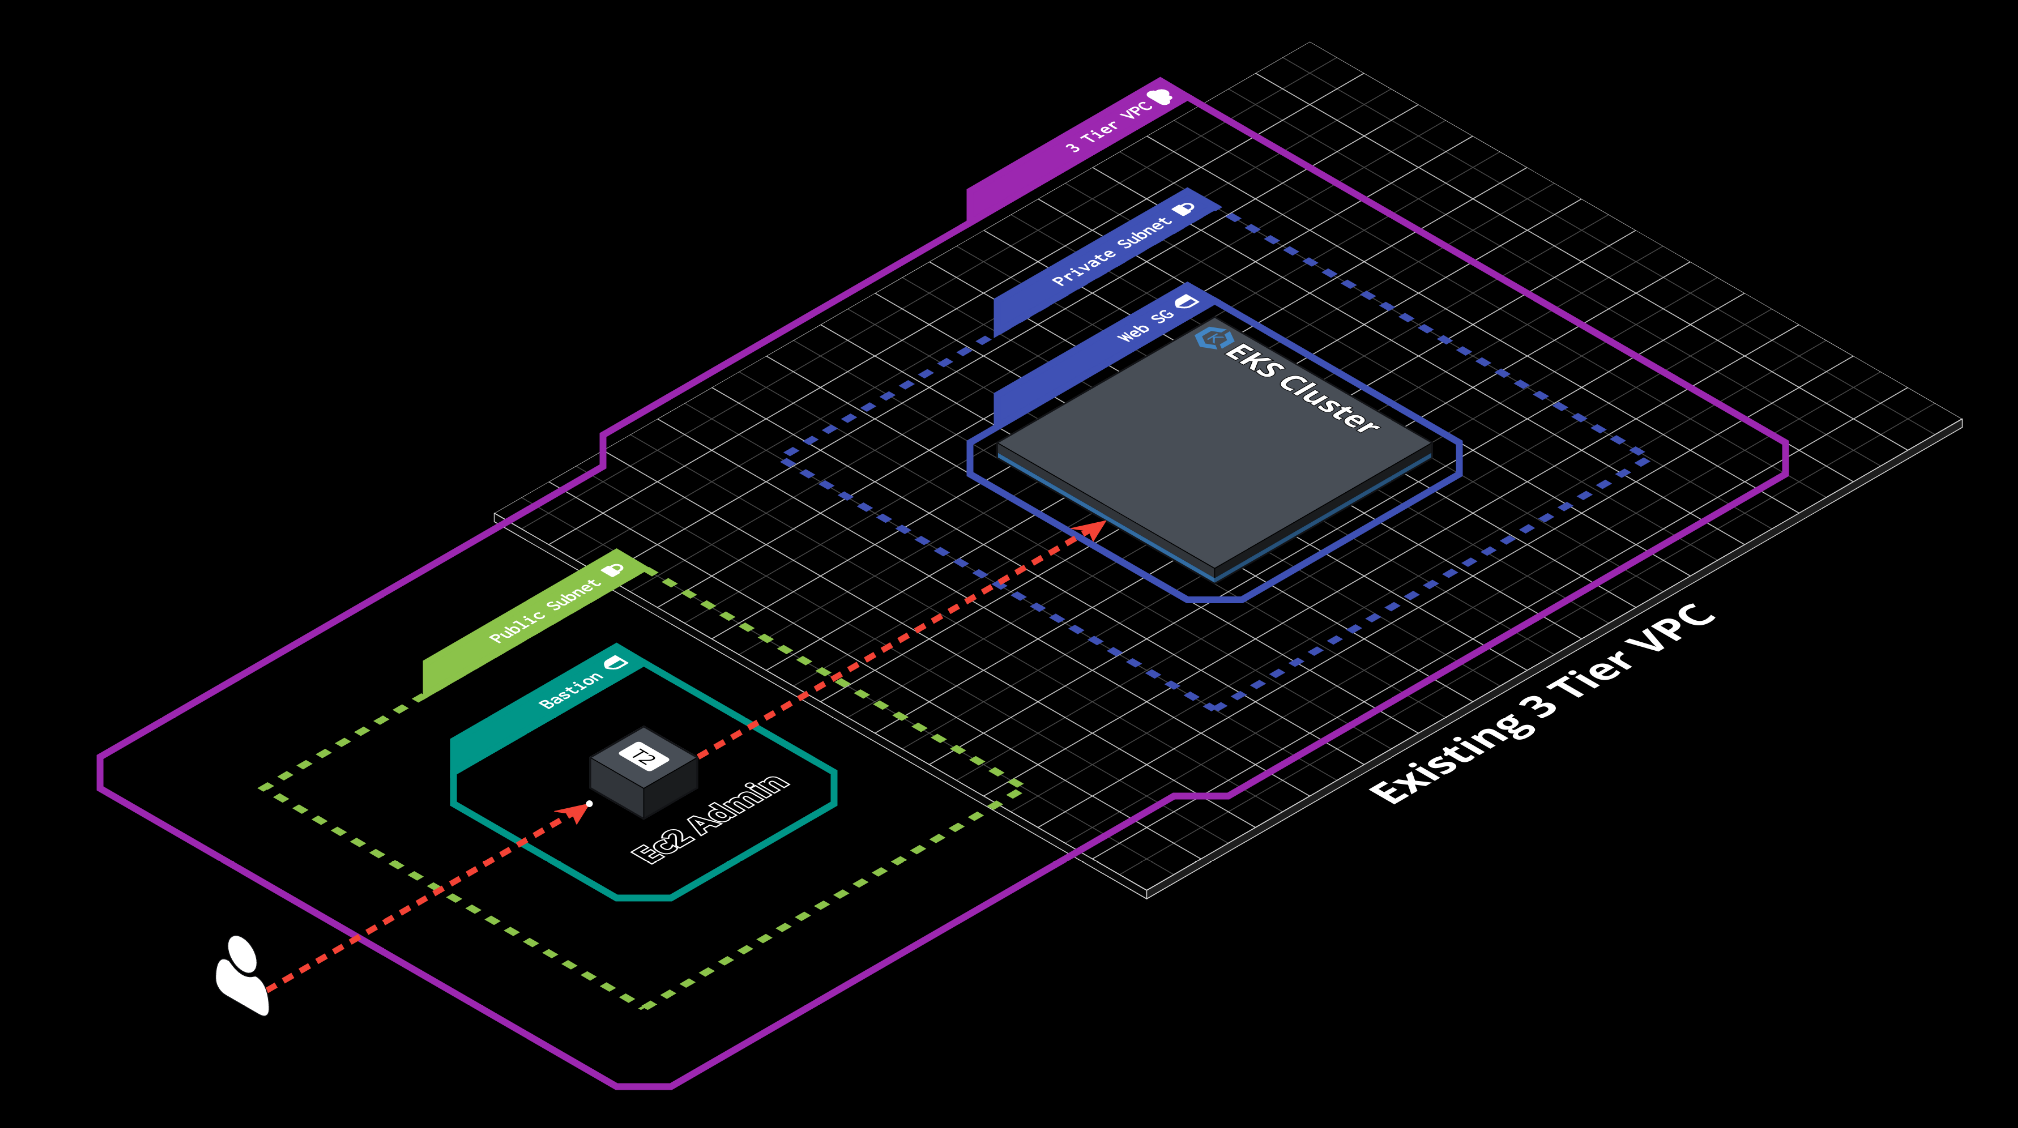
This guide facilates AWS_Workshop . Please skip sections “Introduction”, “Start the workshop”, and “Launch using eksctl”.
Notable differences include:
- end-to-end setup of EKS cluster and workshop
- replacing cloud9 machine with an Ec2 instance
Prerequisites
Completed getting started guide for creating IAM and VPC .
The Dashboard should look like this below:

Generate SSH keys
- Generate ssh keys for Ec2 instance.
- Convert ssh public key to base64 hash.
ssh-keygen -t rsa -b 4096 -f eks-workshop -q
cat eks-workshop.pub | base64 -w 0 && echo ""
Upload Public key
Upload base64 hash into ElasticDev as input variables.1
- Login into ElasticDev
- Click DASHBOARD
- Go to <username> pull down window
- Click SETTINGS
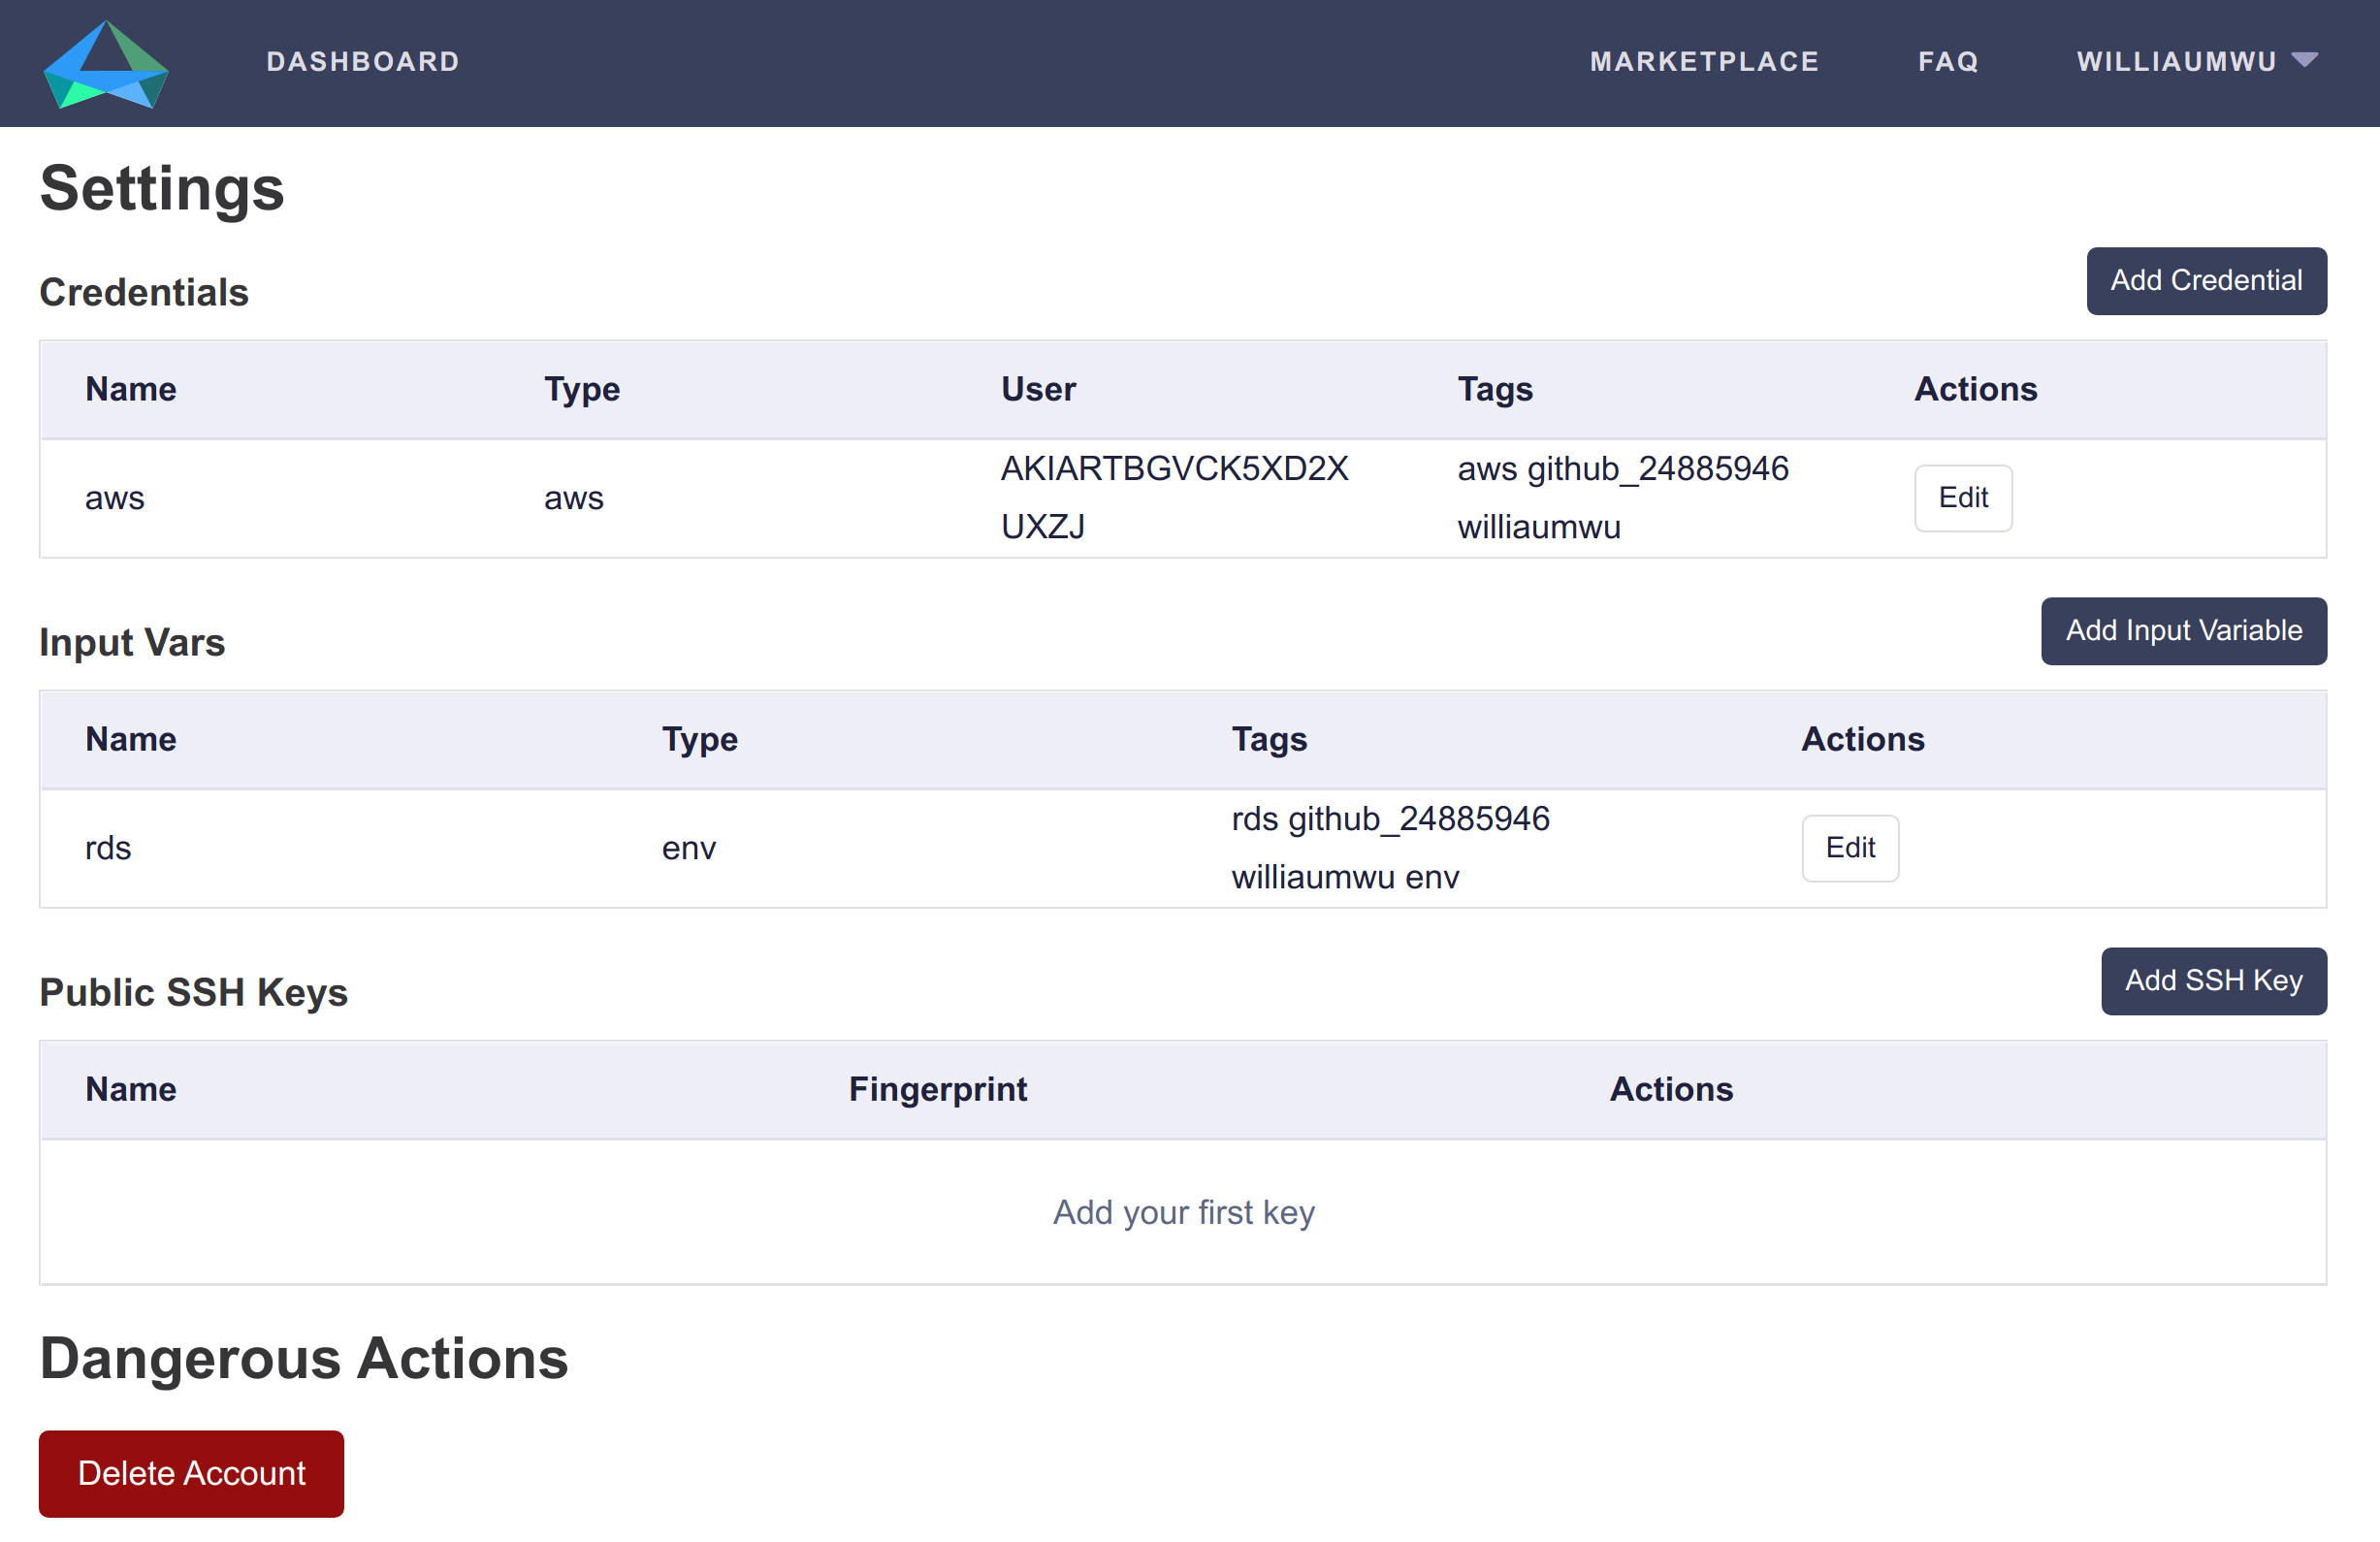
- Click Add Input Variable
- Enter name >> “eks-workshop-public-key”
- Enter key >> “public_key”
- Enter label >> <output from base64 above>
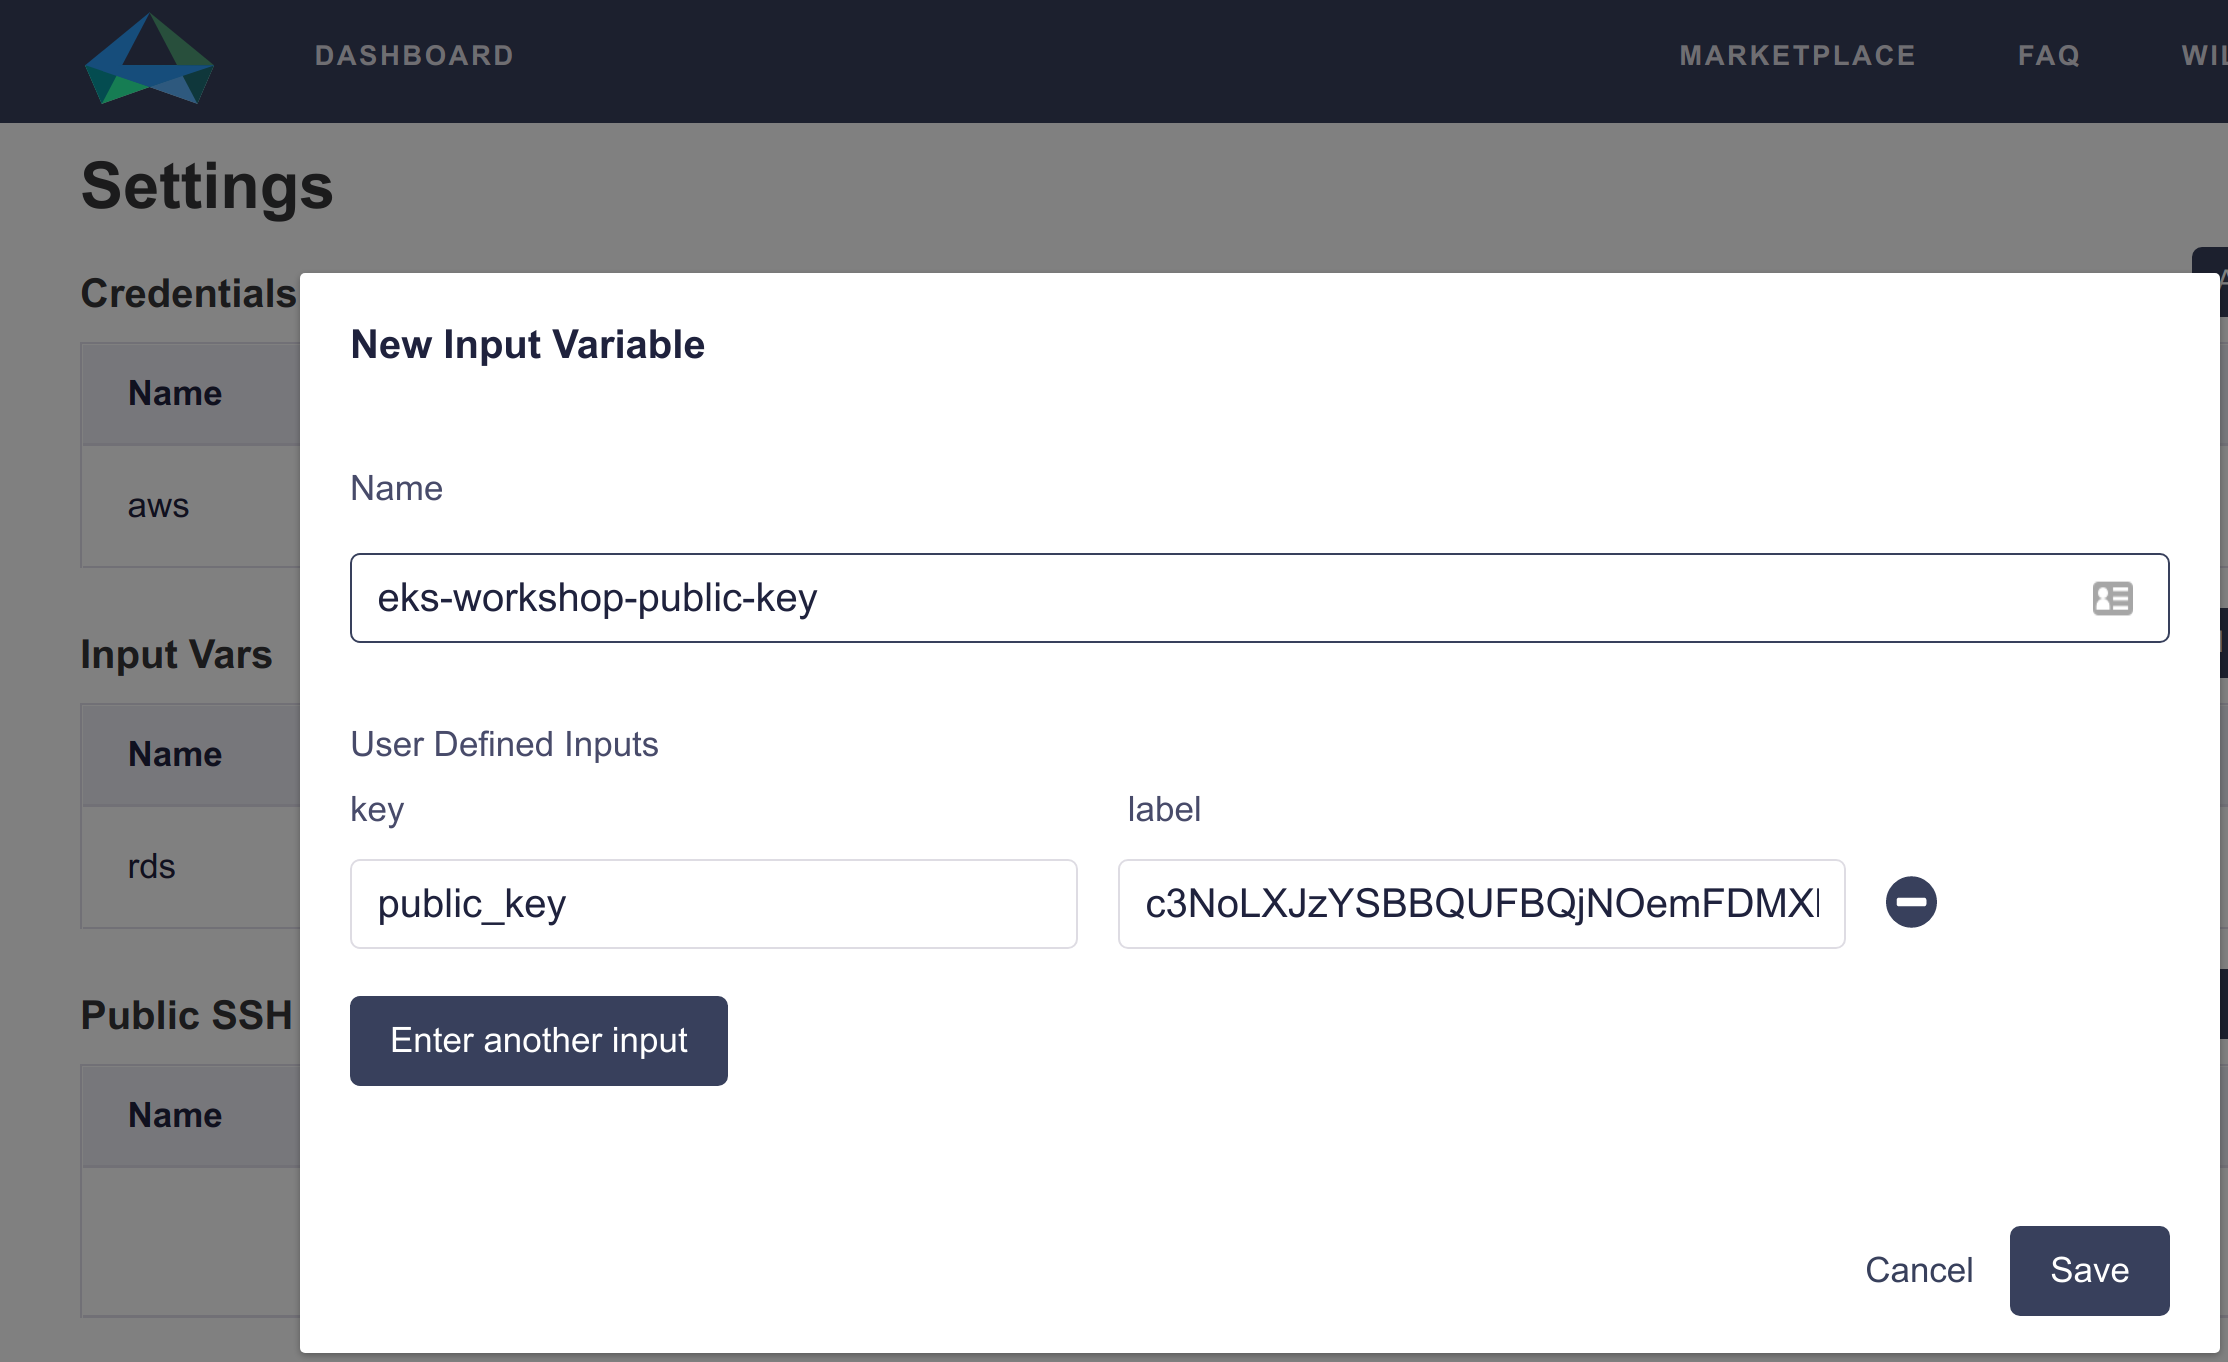
- Click Save
The input vars should look like this below:

Add Project
- Go to Home -> click Add Project
- Select and Click launch-ed as the launch repository
- Type branch name >> eks-workshop
- Add project name >> eks-workshop-101
- Click Add Project
Login to Ec2
- Click DASHBOARD
- Click eks-workshop-101
Should see something similar to below:
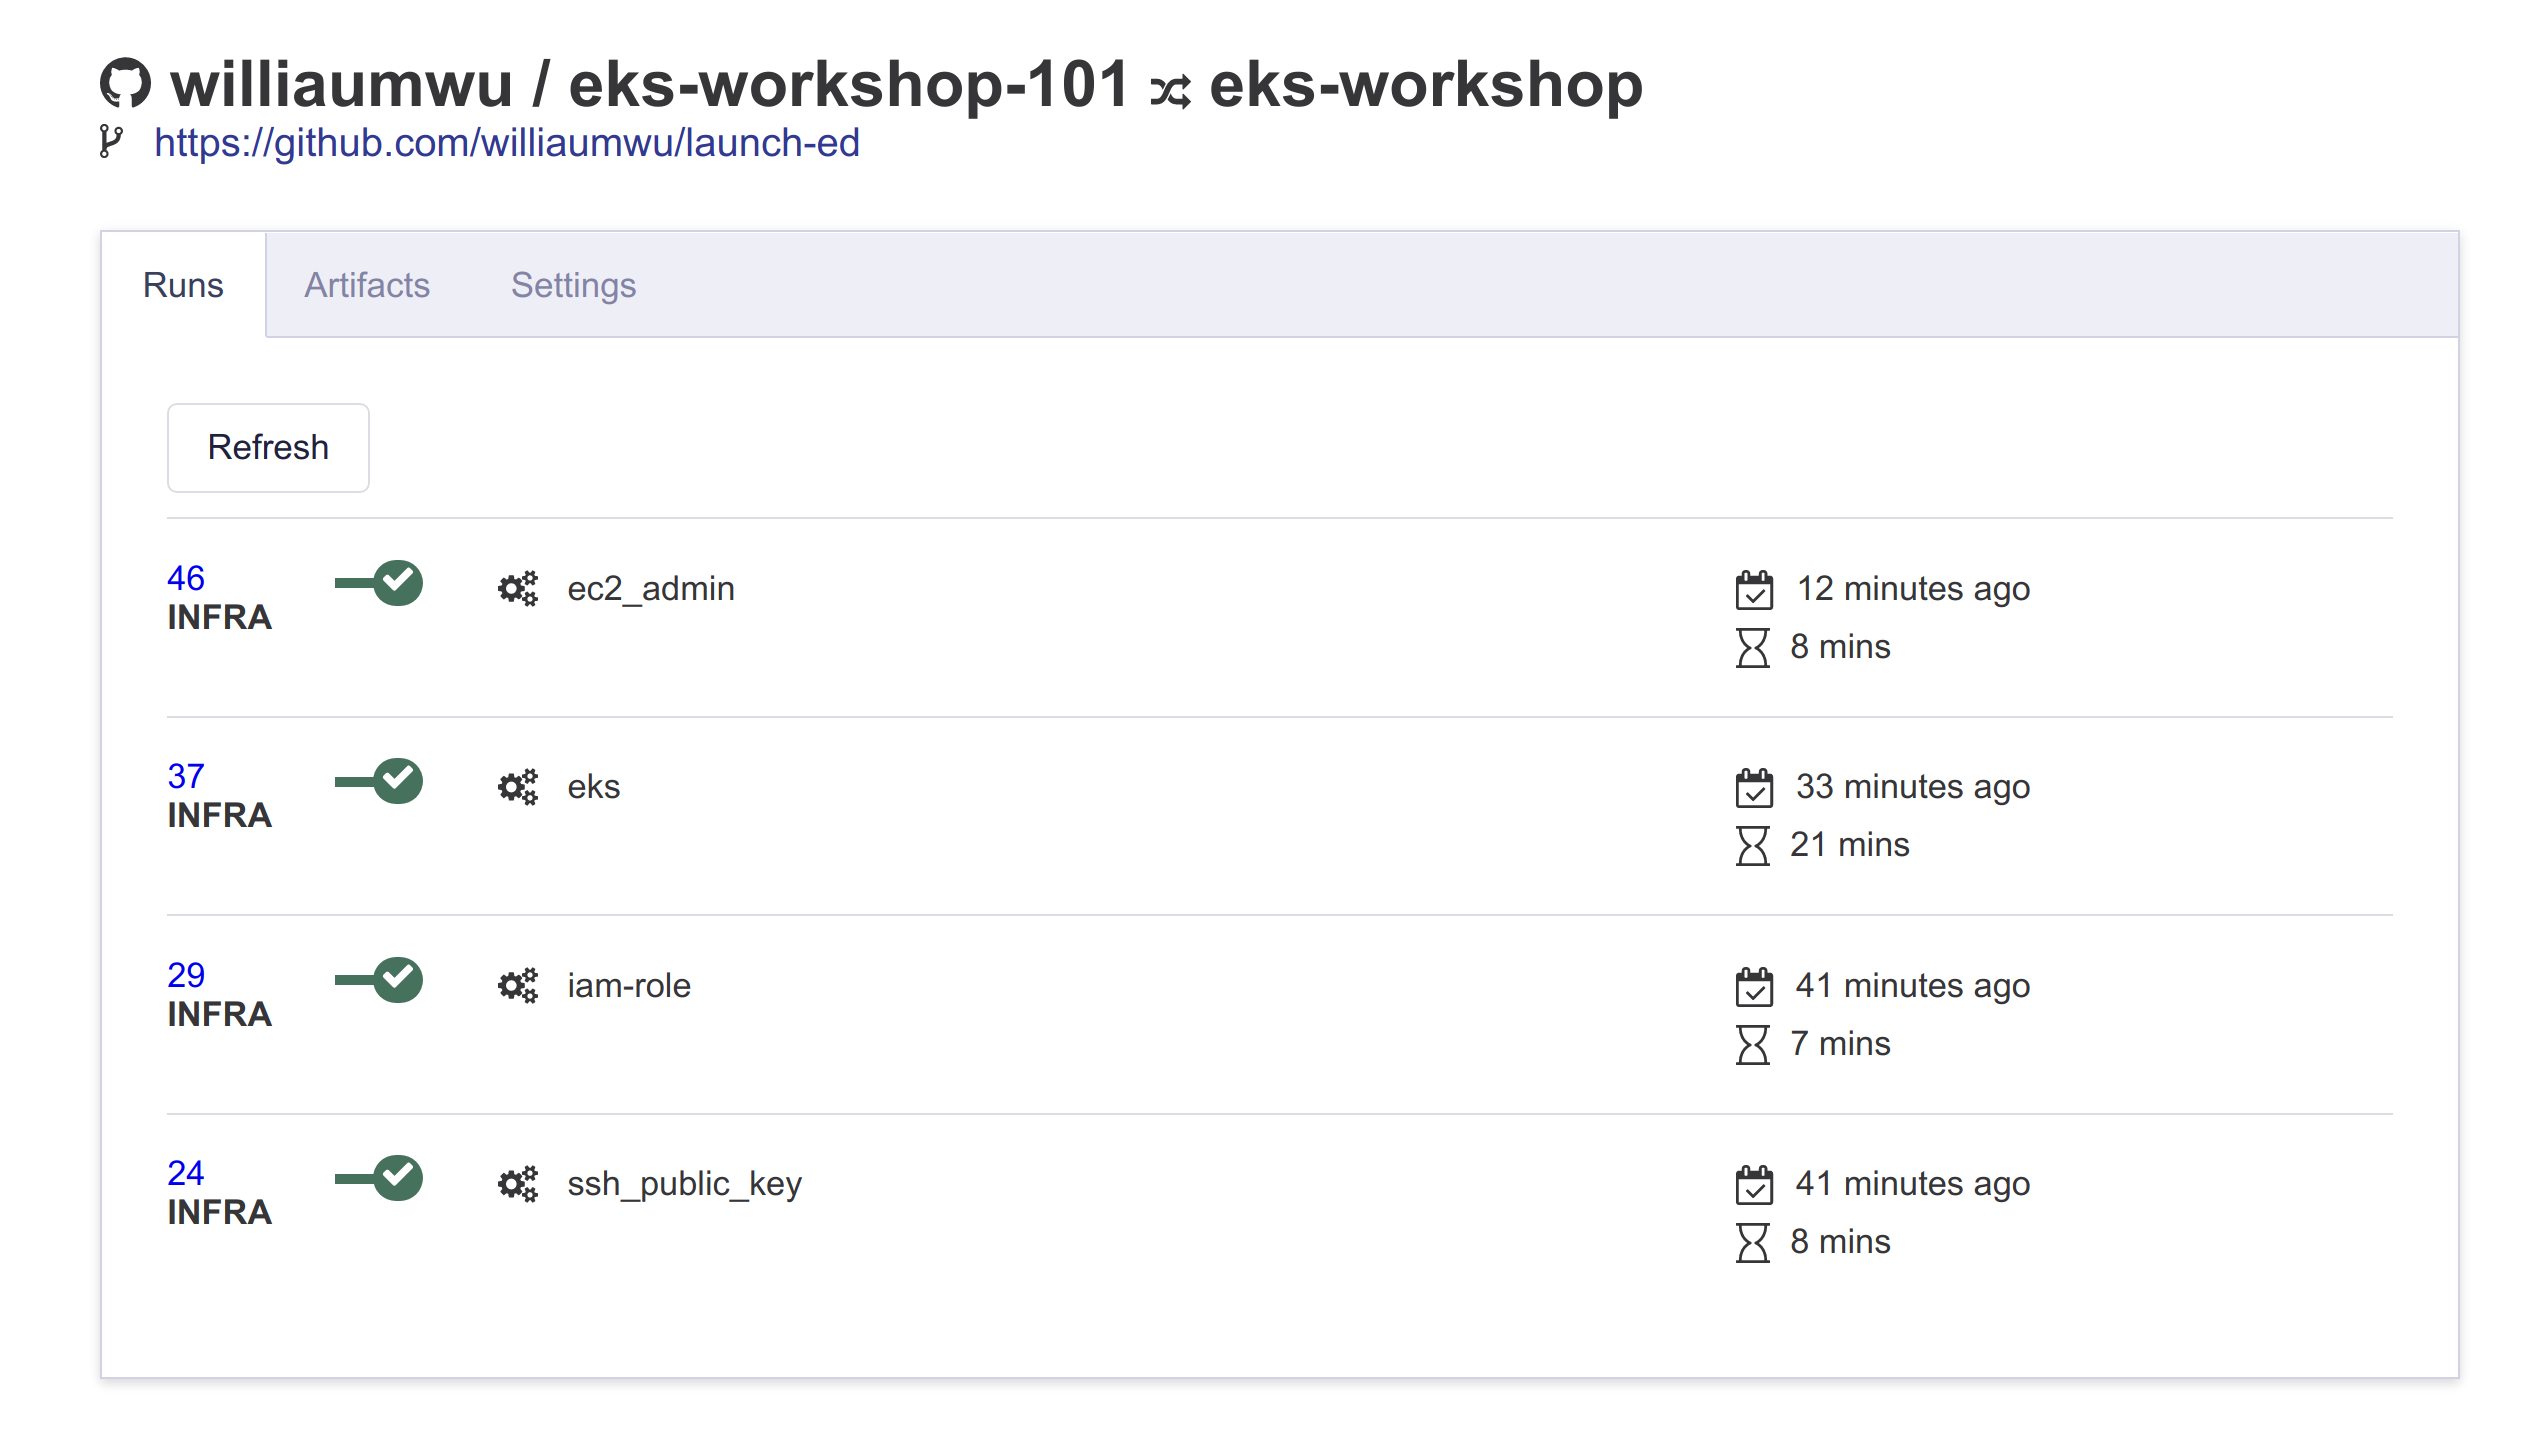
- Click on ec2_admin
- Click Output tab
Should see something similar to below:
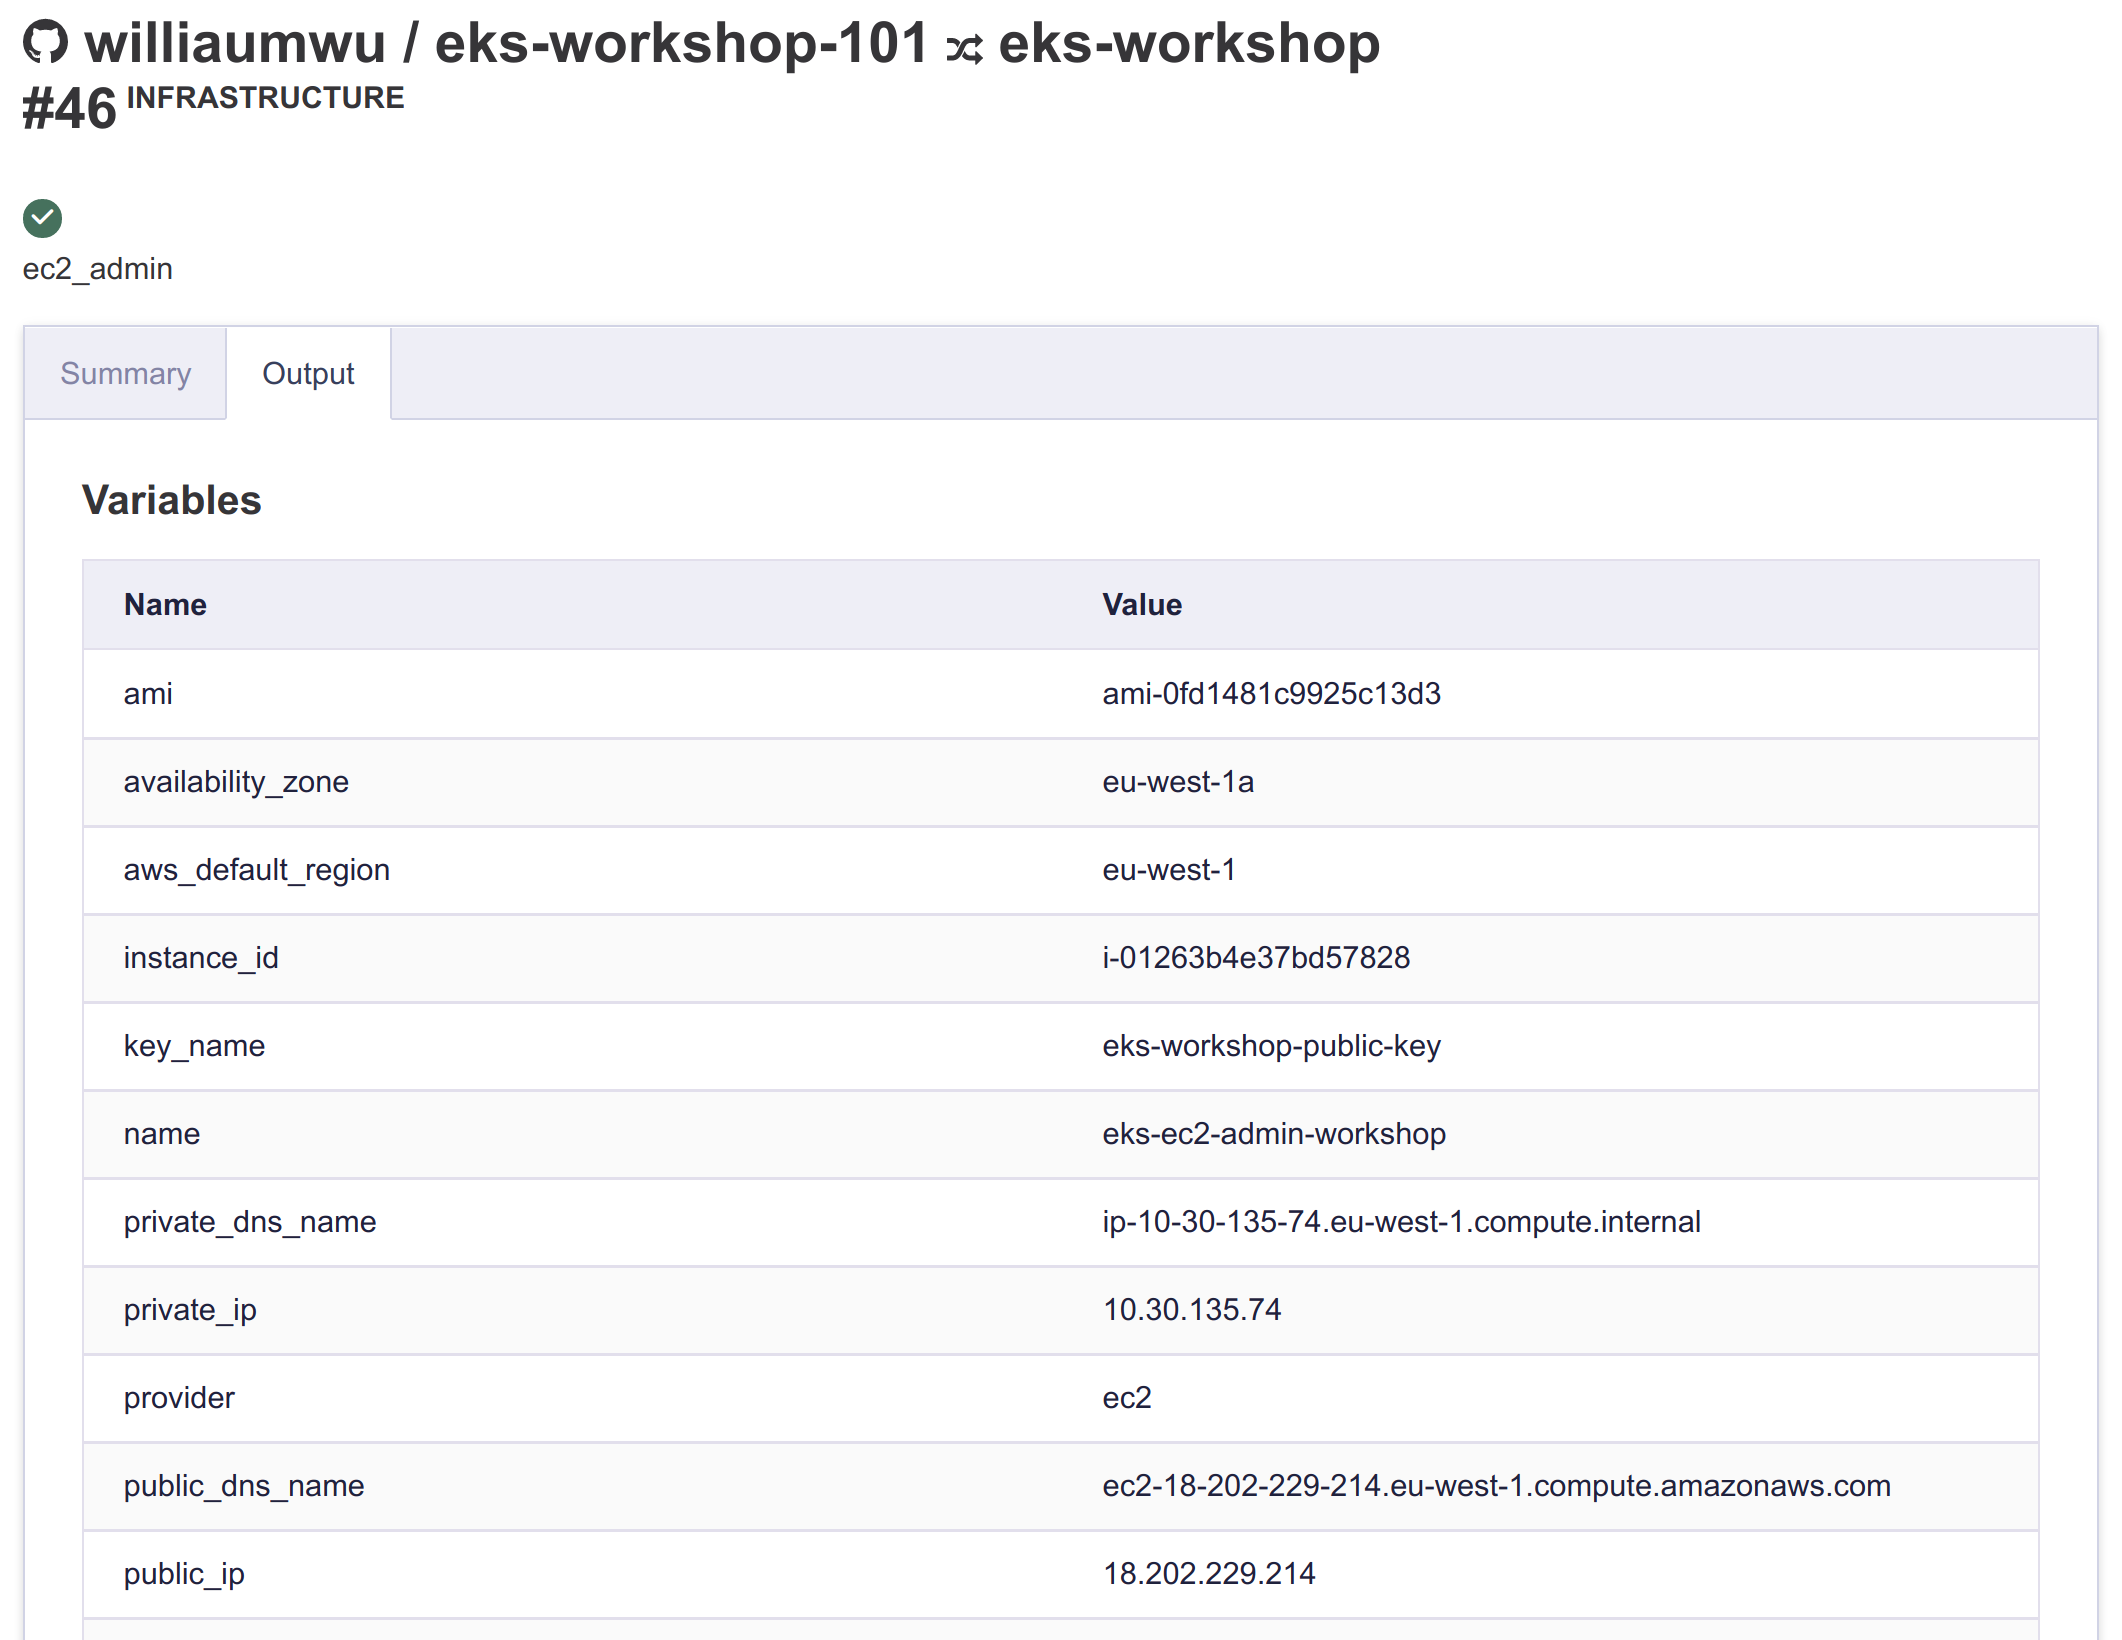
- Copy public_ip for the machine
- Type in a terminal
e.g. public_ip => 18.202.229.214
ssh -i eks-workshop ubuntu@18.202.229.214
- Run a “screen session” and sudo to root
screen
sudo su -
- Execute commands to verify things.
echo "AWS"
aws --version
echo ""

echo "KubeCtl"
kubectl version
echo ""

echo "EKSCtl"
eksctl version
echo ""

echo "Helm"
helm version --short
echo ""

echo "Verify cluster is connected"
kubectl cluster-info
echo ""
- Start EKS Workshop
-
Similar to credentials, input variables are encrypted, but both “keys” and values are user specified. ↩